はじめに
こんばんは
こちらの記事はユアマイスターアドベントカレンダー2020の10日目の記事です。
先日、次の自分のチケットアサインMTGで、 embulkを使うような仕事が来る可能性がありそうでした。
embulkは3〜4年前に個人的に少しだけ触った記憶しかないので、もし来たとき用に素振りしようと思います。
本題
前提
今回はこのデータで試します。
example_db
mysql> show tables;
+----------------------+
| Tables_in_example_db |
+----------------------+
| users                |
+----------------------+
1 row in set (0.00 sec)

mysql> SELECT * FROM users;
+----+-------+---------------------+---------------------+
| id | name  | created             | modified            |
+----+-------+---------------------+---------------------+
|  1 | test  | 2020-12-01 00:00:00 | 2020-12-01 00:00:00 |
|  2 | test2 | 2020-12-01 00:00:00 | 2020-12-01 00:00:00 |
|  3 | test3 | 2020-12-01 00:00:00 | 2020-12-01 00:00:00 |
|  4 | test3 | 2020-12-01 00:00:00 | 2020-12-01 00:00:00 |
|  5 | test4 | 2020-12-01 00:00:00 | 2020-12-01 00:00:00 |
+----+-------+---------------------+---------------------+
5 rows in set (0.00 sec)
example_db_2
mysql> show tables;
Empty set (0.00 sec)
example_db には users というテーブルがあり、データが入っています。
example_db_2 にはテーブル自体が存在しません。
in: mysql, out: mysqlで試してみる
1. 本体のインストール
$ brew install embulk

$ embulk --version
embulk 0.9.23
2. プラグインのインストール
今回は試しに、in, outともにmysqlにしてみます。
$ embulk gem install embulk-input-mysql
$ embulk gem install embulk-output-mysql
3. 設定ファイル
_env.yml.liquid
{% assign in_host = '127.0.0.1' %}
{% assign in_user = 'kojirock' %}
{% assign in_password = '1qaz2wsx' %}
{% assign in_database = 'example_db' %}

{% assign out_host = '127.0.0.1' %}
{% assign out_user = 'kojirock' %}
{% assign out_password = '1qaz2wsx' %}
{% assign out_database = 'example_db_2' %}
users.yml.liquid
{% include 'env' %}
in:
  type: mysql
  host: {{ in_host }}
  user: {{ in_user }}
  password: {{ in_password }}
  database: {{ in_database }}
  table: users
  select: "id, name"
out:
  mode: replace
  type: mysql
  host: {{ out_host }}
  user: {{ out_user }}
  password: {{ out_password }}
  database: {{ out_database }}
  table: users
  select: "id, name"
4. 実行
一旦 previewで実行してみます。
$ embulk preview users.yml.liquid
...
2020-12-10 02:46:52.550 +0900 [INFO] (0001:preview): SQL: SELECT id, name FROM `users`
2020-12-10 02:46:52.552 +0900 [INFO] (0001:preview): > 0.00 seconds
+---------+-------------+
| id:long | name:string |
+---------+-------------+
|       1 |        test |
|       2 |       test2 |
|       3 |       test3 |
|       4 |       test3 |
|       5 |       test4 |
+---------+-------------+
良さげなので、実行してみます。
$ embulk run users.yml.liquid
...
2020-12-10 02:47:55.849 +0900 [INFO] (main): Committed.
2020-12-10 02:47:55.849 +0900 [INFO] (main): Next config diff: {"in":{},"out":{}}
成功したので、mysqlを見てみます。
$ mysql -u kojirock -p
Enter password:
Welcome to the MySQL monitor.  Commands end with ; or \g.
Your MySQL connection id is 114
Server version: 8.0.22 Homebrew

Copyright (c) 2000, 2020, Oracle and/or its affiliates. All rights reserved.

Oracle is a registered trademark of Oracle Corporation and/or its
affiliates. Other names may be trademarks of their respective
owners.

Type 'help;' or '\h' for help. Type '\c' to clear the current input statement.

mysql> use example_db_2
Reading table information for completion of table and column names
You can turn off this feature to get a quicker startup with -A

Database changed
mysql> show tables;
+------------------------+
| Tables_in_example_db_2 |
+------------------------+
| users                  |
+------------------------+
1 row in set (0.00 sec)

mysql> select * from users;
+------+-------+
| id   | name  |
+------+-------+
|    1 | test  |
|    2 | test2 |
|    3 | test3 |
|    4 | test3 |
|    5 | test4 |
+------+-------+
5 rows in set (0.00 sec)
example_db_2に移すことが出来ました!!
これがだいたい基本の動きなのかな?
in: mysql, out: bigQueryで試してみる
1. プラグインのインストール
$ embulk gem install embulk-output-bigquery
3. 設定ファイル
_env.yml.liquid
{% assign in_host = '127.0.0.1' %}
{% assign in_user = 'kojirock' %}
{% assign in_password = '1qaz2wsx' %}
{% assign in_database = 'example_db' %}

{% assign out_json = '/path/to/kojirock-bigquery.json' %}
{% assign out_project = 'example_project' %}
{% assign dataset = 'dataset_example1' %}
users.yml.liquid
{% include 'env' %}
in:
  type: mysql
  host: {{ in_host }}
  user: {{ in_user }}
  password: {{ in_password }}
  database: {{ in_database }}
  table: users
  select: "id, name"
out:
  type: bigquery
  mode: replace
  table: users
  select: "id, name"
  auth_method: json_key
  json_keyfile:  {{ out_json }}
  project: {{ out_project }}
  dataset: {{ dataset }}
  location: asia-northeast1
  compression: GZIP
  auto_create_table: true
4. 実行
一旦 previewで実行してみます。
$ embulk preview users.yml.liquid
2020-12-10 04:12:26.448 +0900: Embulk v0.9.23
...
2020-12-10 04:12:29.209 +0900 [INFO] (0001:preview): SQL: SELECT id, name FROM `users`
2020-12-10 04:12:29.211 +0900 [INFO] (0001:preview): > 0.00 seconds
+---------+-------------+
| id:long | name:string |
+---------+-------------+
|       1 |        test |
|       2 |       test2 |
|       3 |       test3 |
|       4 |       test3 |
|       5 |       test4 |
+---------+-------------+
良さげなので、実行してみます。
$ embulk run users.yml.liquid
2020-12-10 04:12:34.929 +0900: Embulk v0.9.23
...
2020-12-10 04:17:04.085 +0900 [INFO] (main): Committed.
2020-12-10 04:17:04.086 +0900 [INFO] (main): Next config diff: {"in":{},"out":{}}
成功しました!
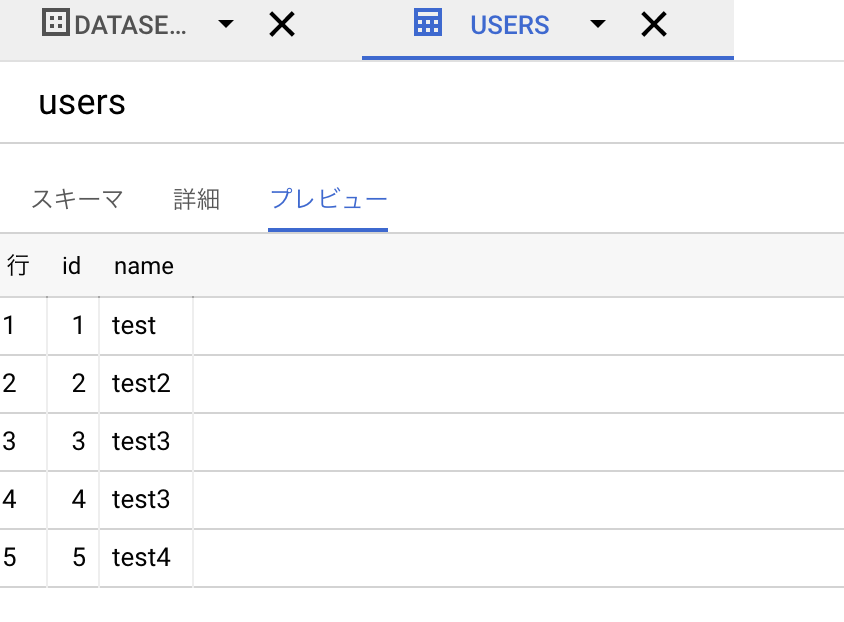
BigQueryにも保存されています!
ちなみに、コピー元のmysqlのスキーマが変更された場合、 mode: append になっていると実行時にスキーマが違うことでエラーが発生します。
mode: replace になっていれば、 コピー元のスキーマが変更されても 変更してくれるみたいです。
終わりに
こんな感じでとても簡単にできました。
embulk楽しいですね。
もうちょい素振りしておこうと思います。
また、ユアマイスターではエンジニアを積極採用中です。
ご興味がある方はご連絡ください。